
It’s that time of year where we’re ALL thinking spring thoughts! And one of those spring thoughts might be trying your hand at growing your own Ranunculus and Anemones in your garden this year. These flowers are some of our most sought after cut flowers, and it’s so rewarding to have your own little catch of these beauties blooming in your own home garden! 
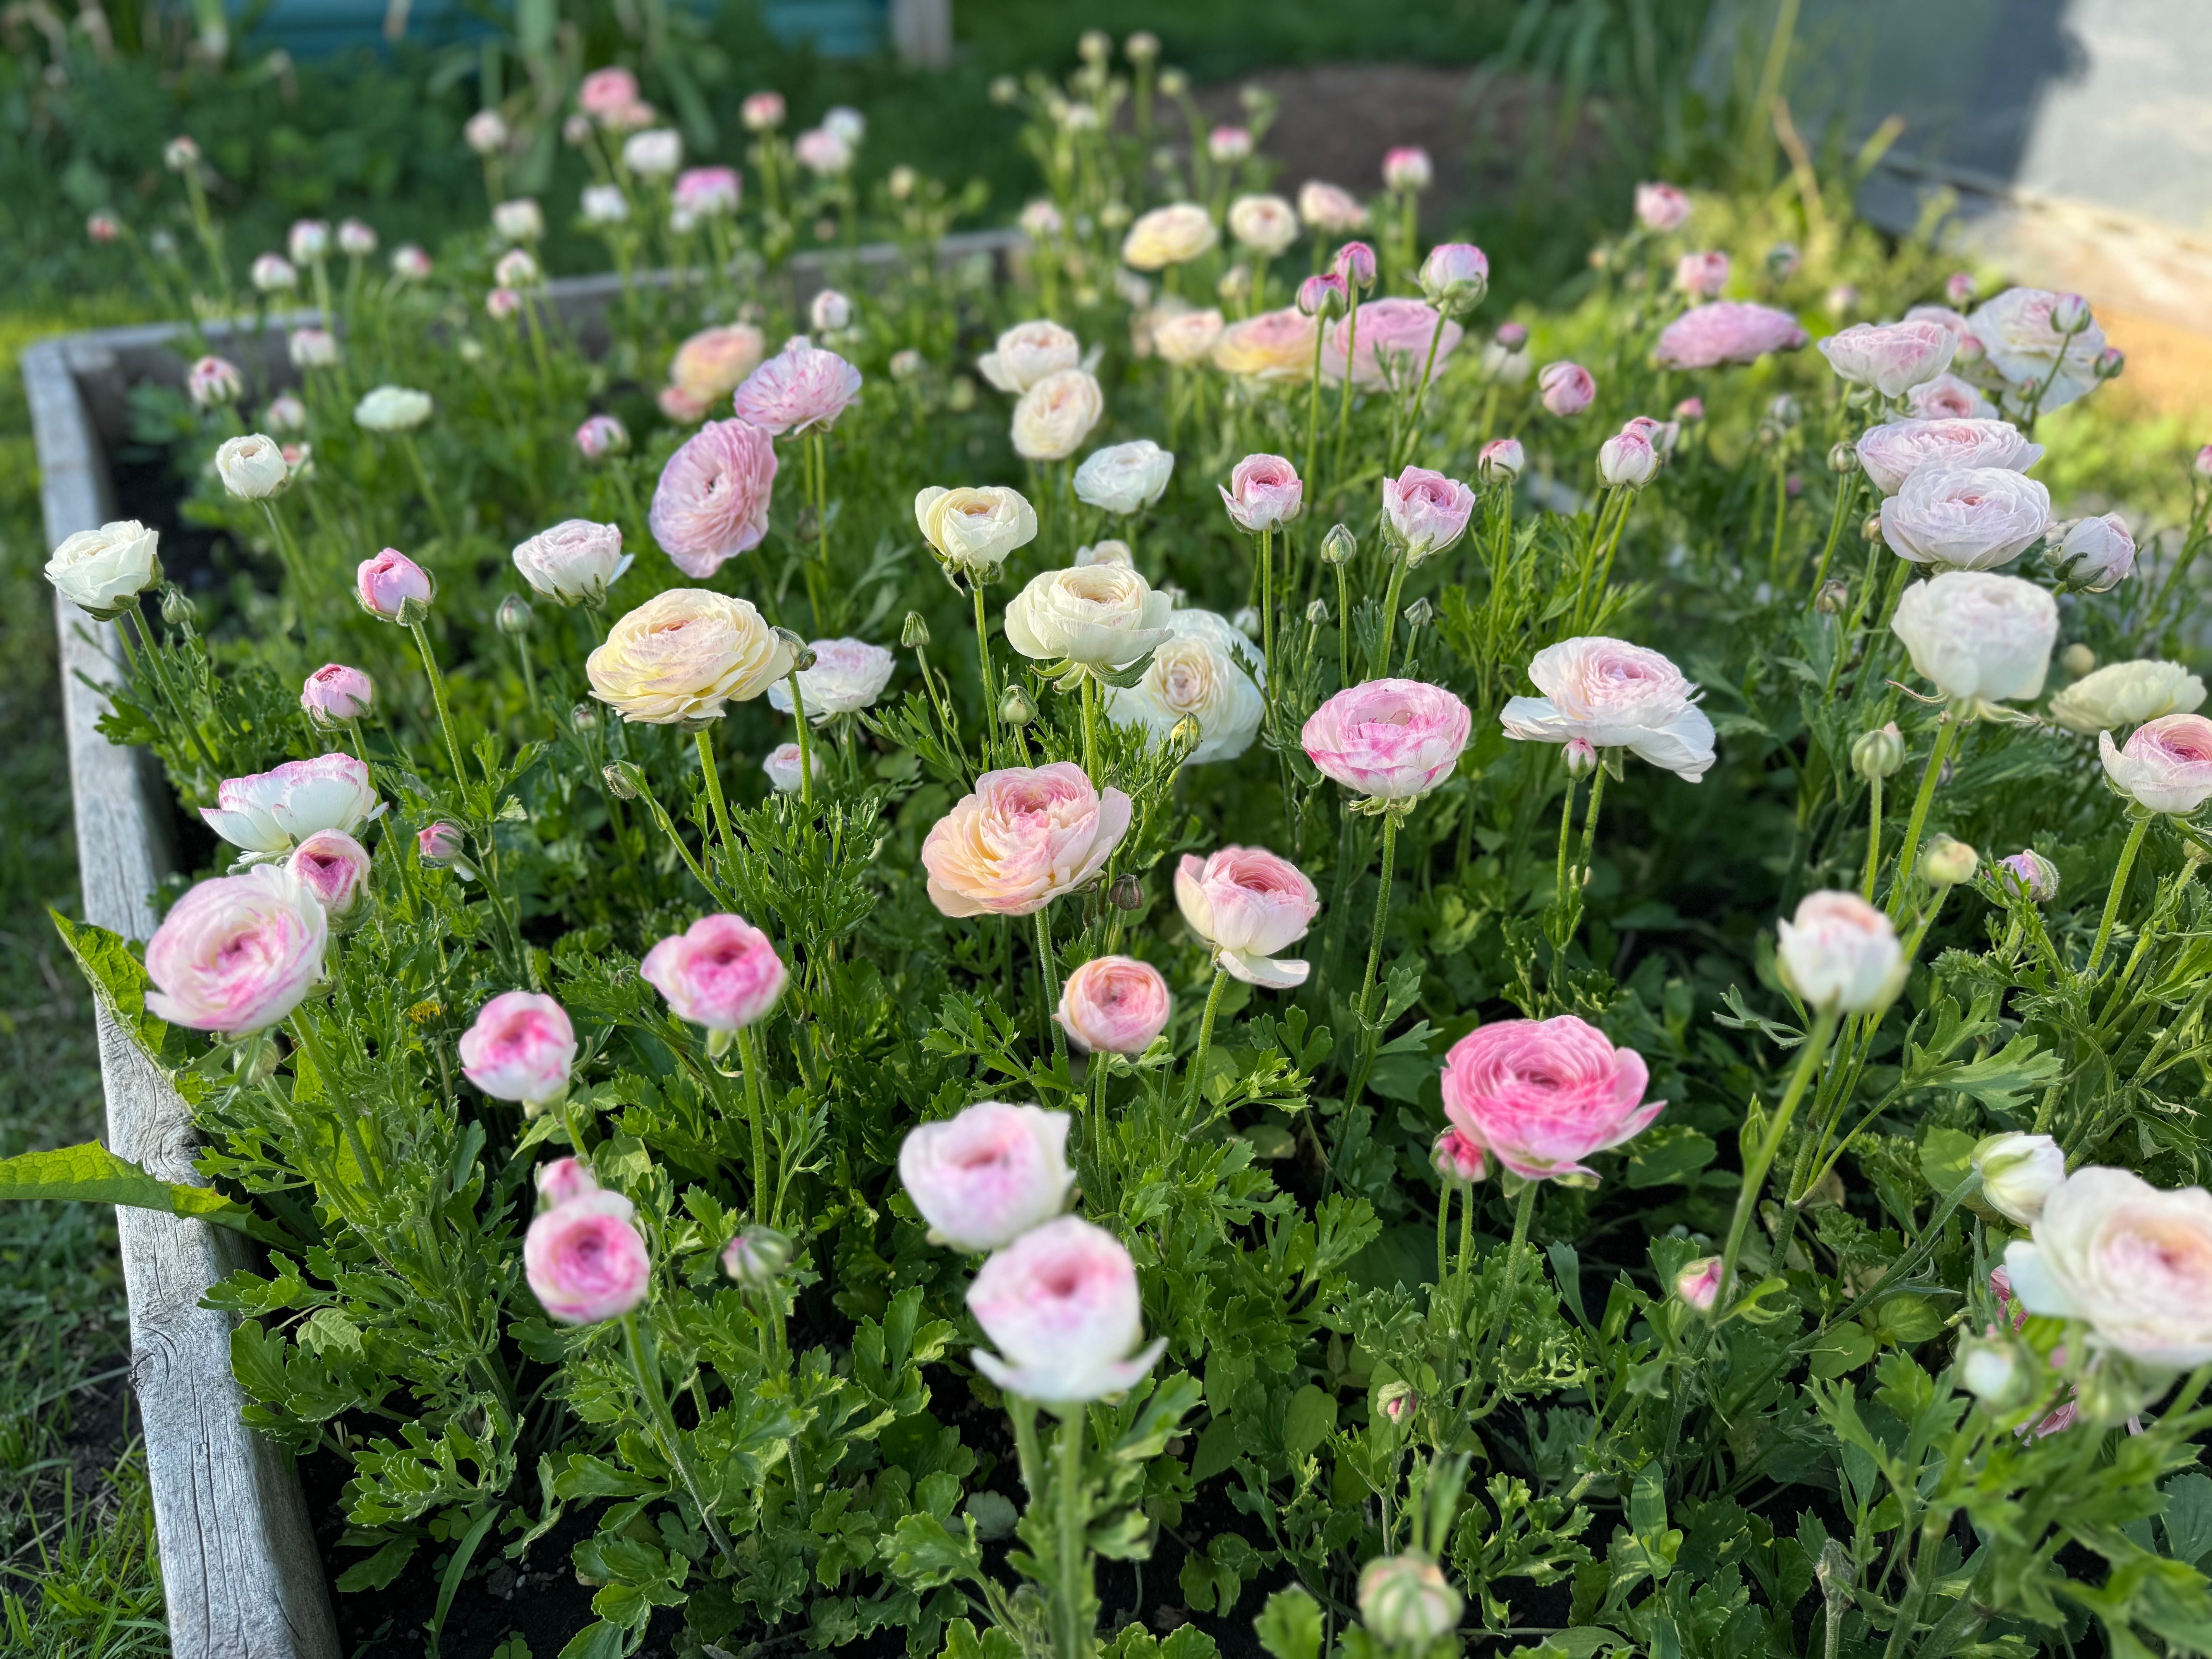
(Photo of the brand new ‘Moderna’ Ranunculus from the test greenhouses of Italian Ranunculus breeder Biancheri)
Lots of questions often arise when it comes time to plant Ranunculus and Anemones, and with good reason. They are not quite as simple to plant as say, a tulip, but, with proper instructions the process is fairly straightforward.
We send a full set of growing instructions out with every corm order, and we’ve created a full growing guide on our website, which you can find under the 'Growing Resources' tab.
Every spring we receive plenty of questions about the growing process, and in our next few blog posts, we’ll try to answer as many of them as we can!
Read on below for our third instalment of the Ranunculus and Anemone Q and A!
WHAT TYPE OF SOIL IS REQUIRED TO GROW RANUNCULUS AND ANEMONES?

Ranunculus and Anemones thrive in rich well drained soil.
They do not like to be planted in areas where they will have wet feet, and they require good drainage.
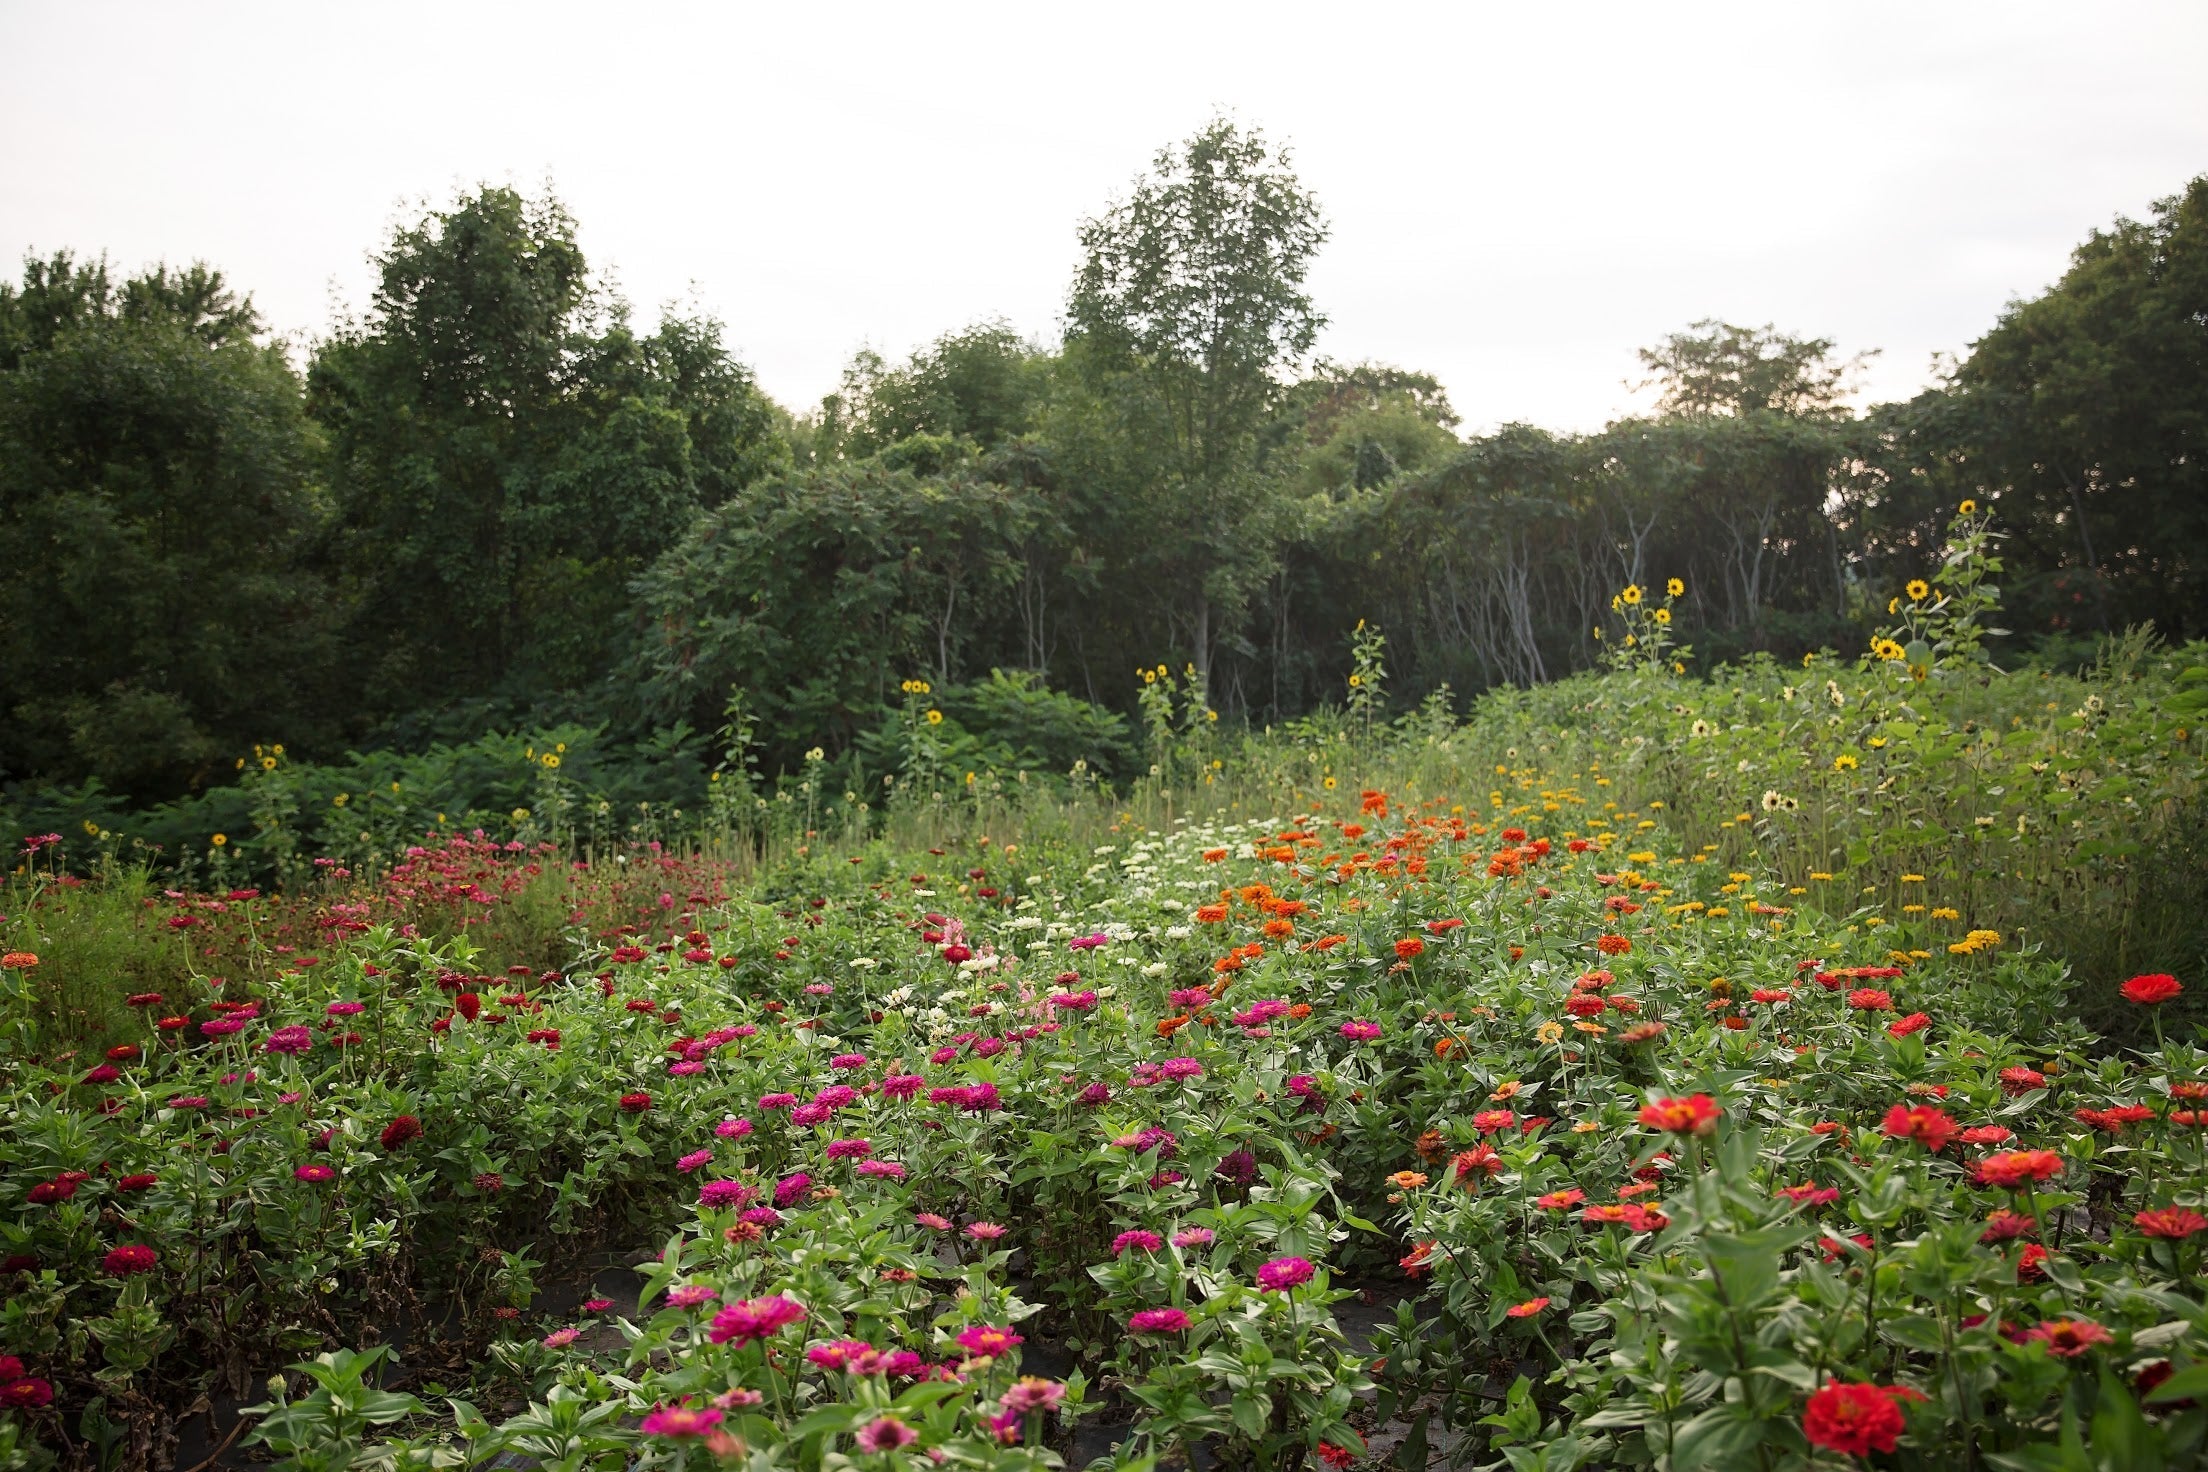
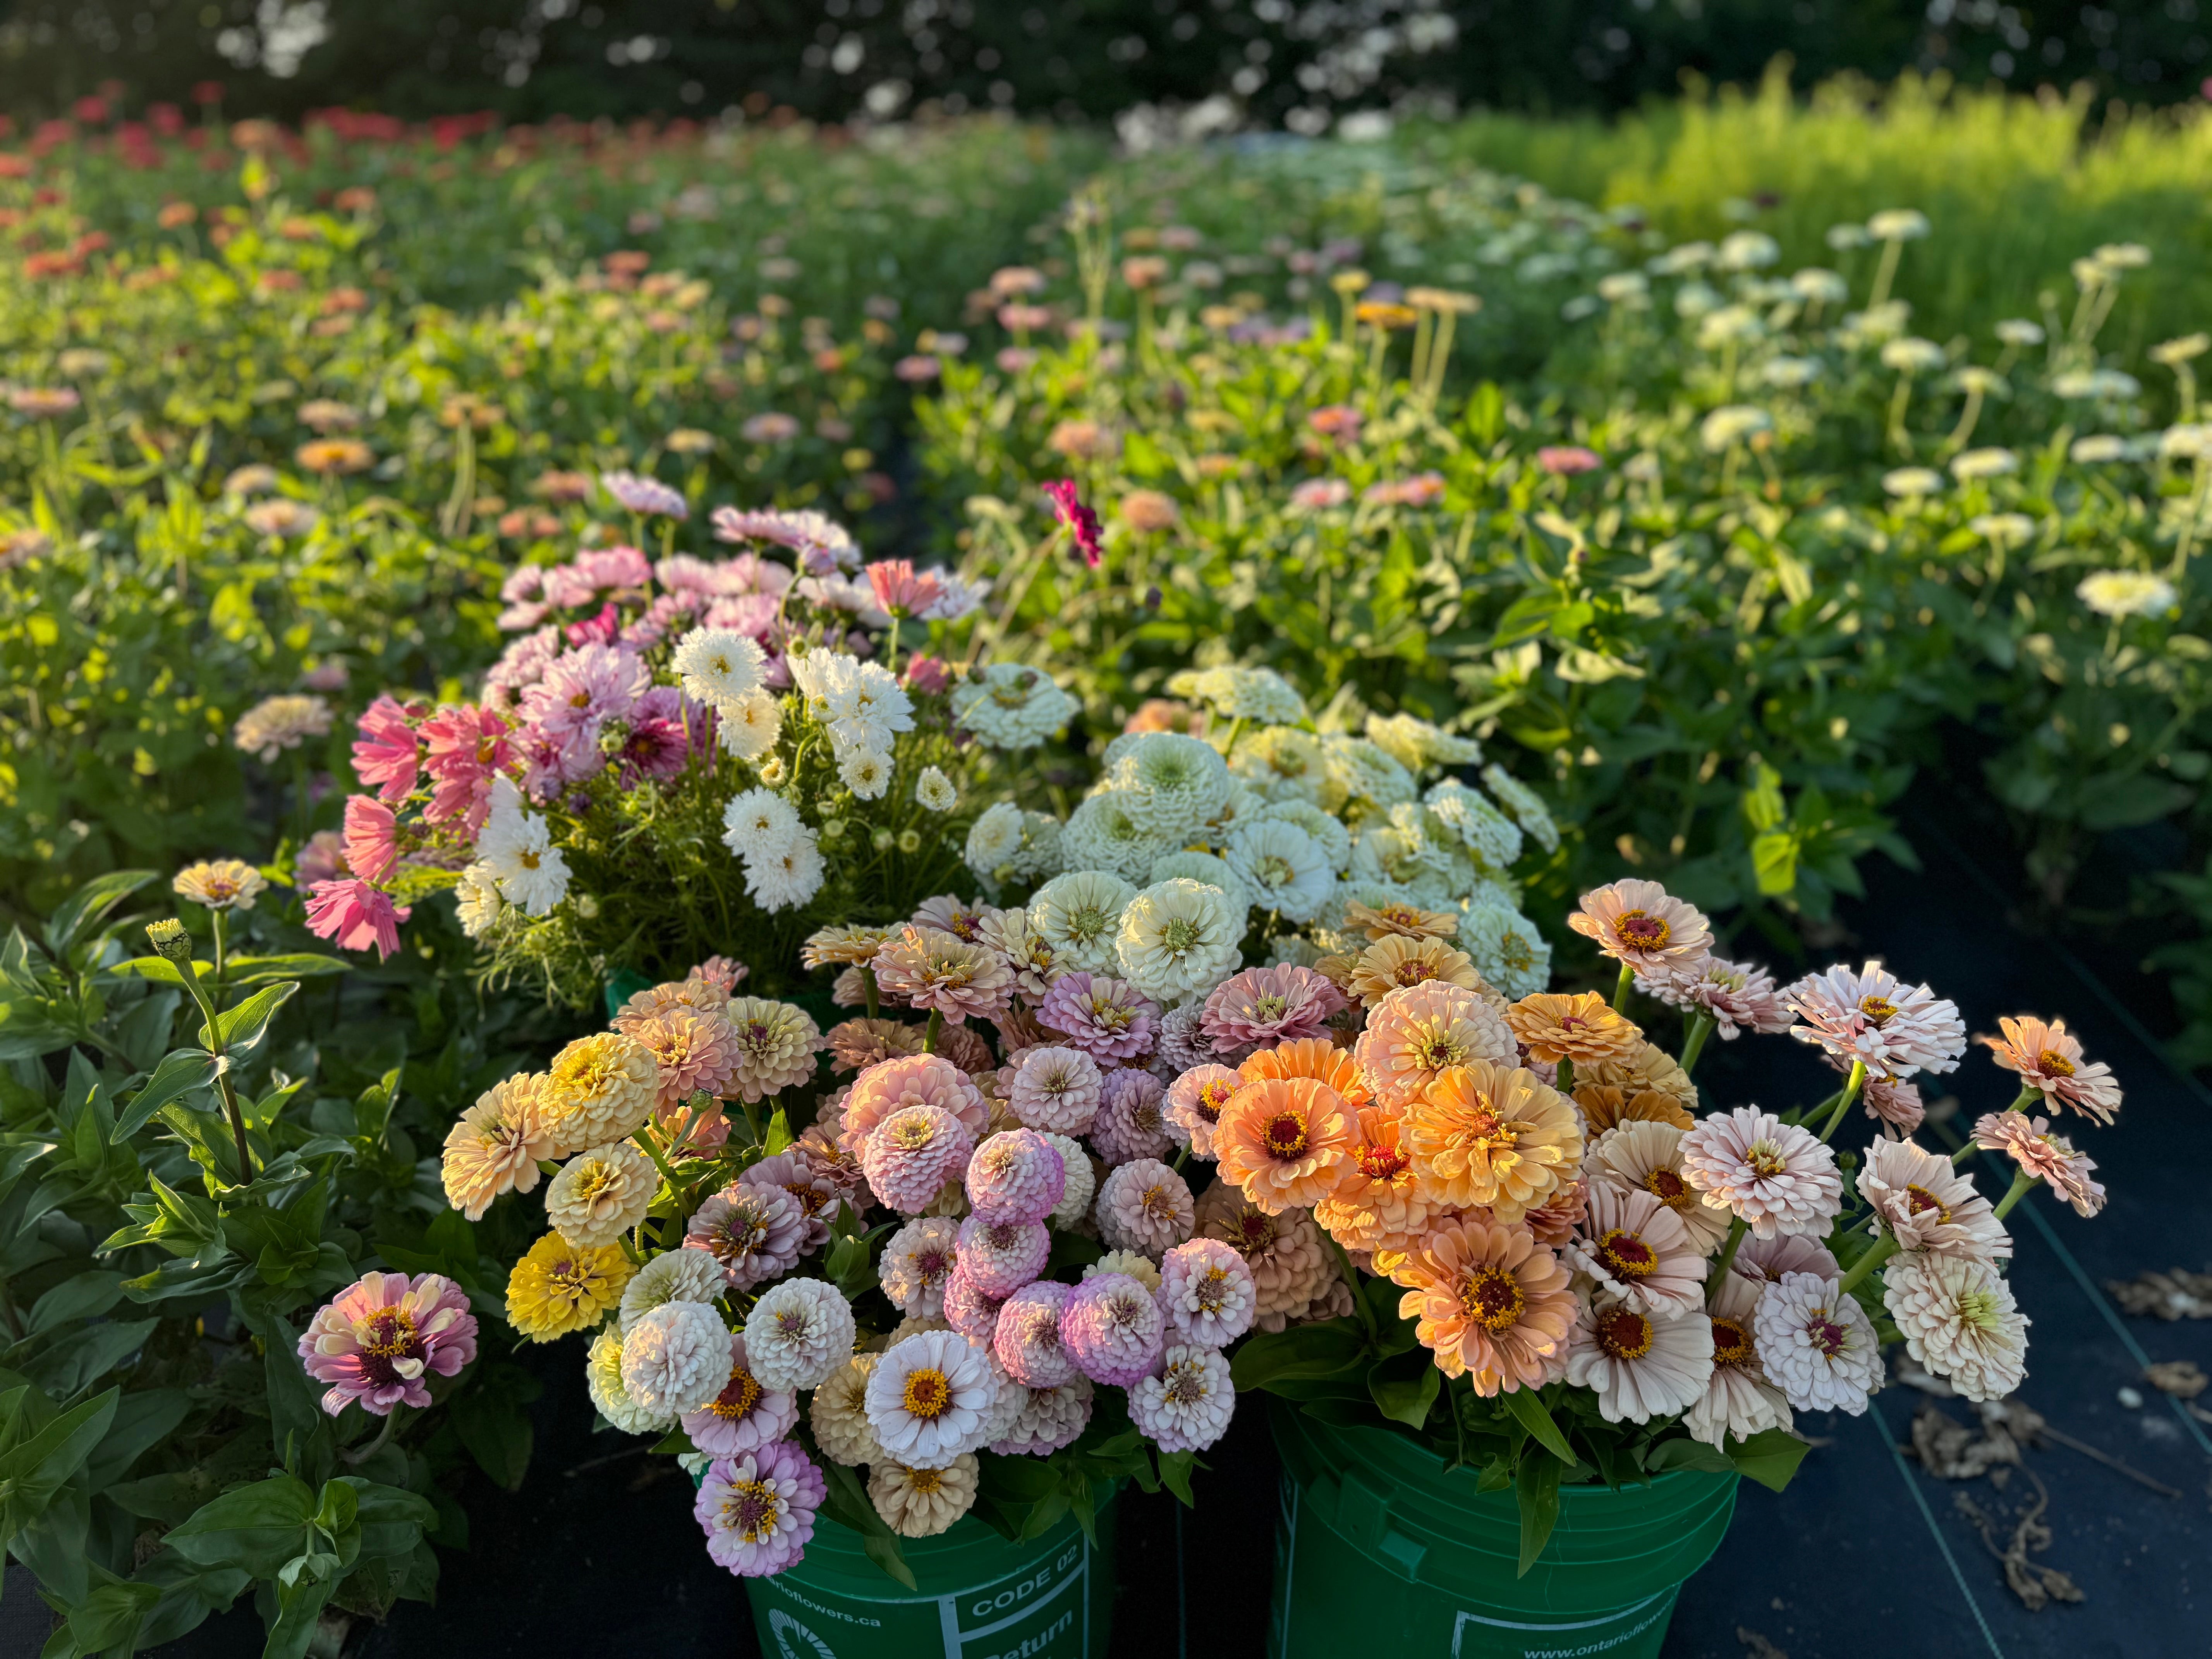
Here at our farm, our fields are primarily rocky clay, which is NOT conducive to growing beautiful ranunculus and anemones. Our soil doesn’t dry out quickly in the spring, and it holds moisture. While this is great for field grown summer annuals like zinnias and sunflowers, it's not so great for our favourite spring flowers.
So what do we do? We utilize raised beds when planting. One of the advantages of raised beds is that you're in control of the type of soil that you place in them. When we build our raised beds, we fill them with high-quality triple mix, which is a mix of clean topsoil, compost, and peat moss. This well balanced soil is perfect for growing ranunculus and anemones. Another advantage to planting in raised beds is that these beds offer good drainage, ensuring that your plants will not have wet feet in the spring or be prone to any rot.
If you’re planting your ranunculus directly in the garden, you’ll want to make sure to pick a spot where you have good rich and well drained soil. Planting in pots is also a great option for growing these beautiful plants. If you would like to plant in pots, you’ll want to use a potting mix, instead of garden soil, as you will need a lighter soil with good drainage. Any high-quality potting mix Will work, feel free to mix in a little bit of compost if you have it handy.
WHERE SHOULD I PLANT, AND HOW MUCH SUN IS REQUIRED TO GROW THEM?

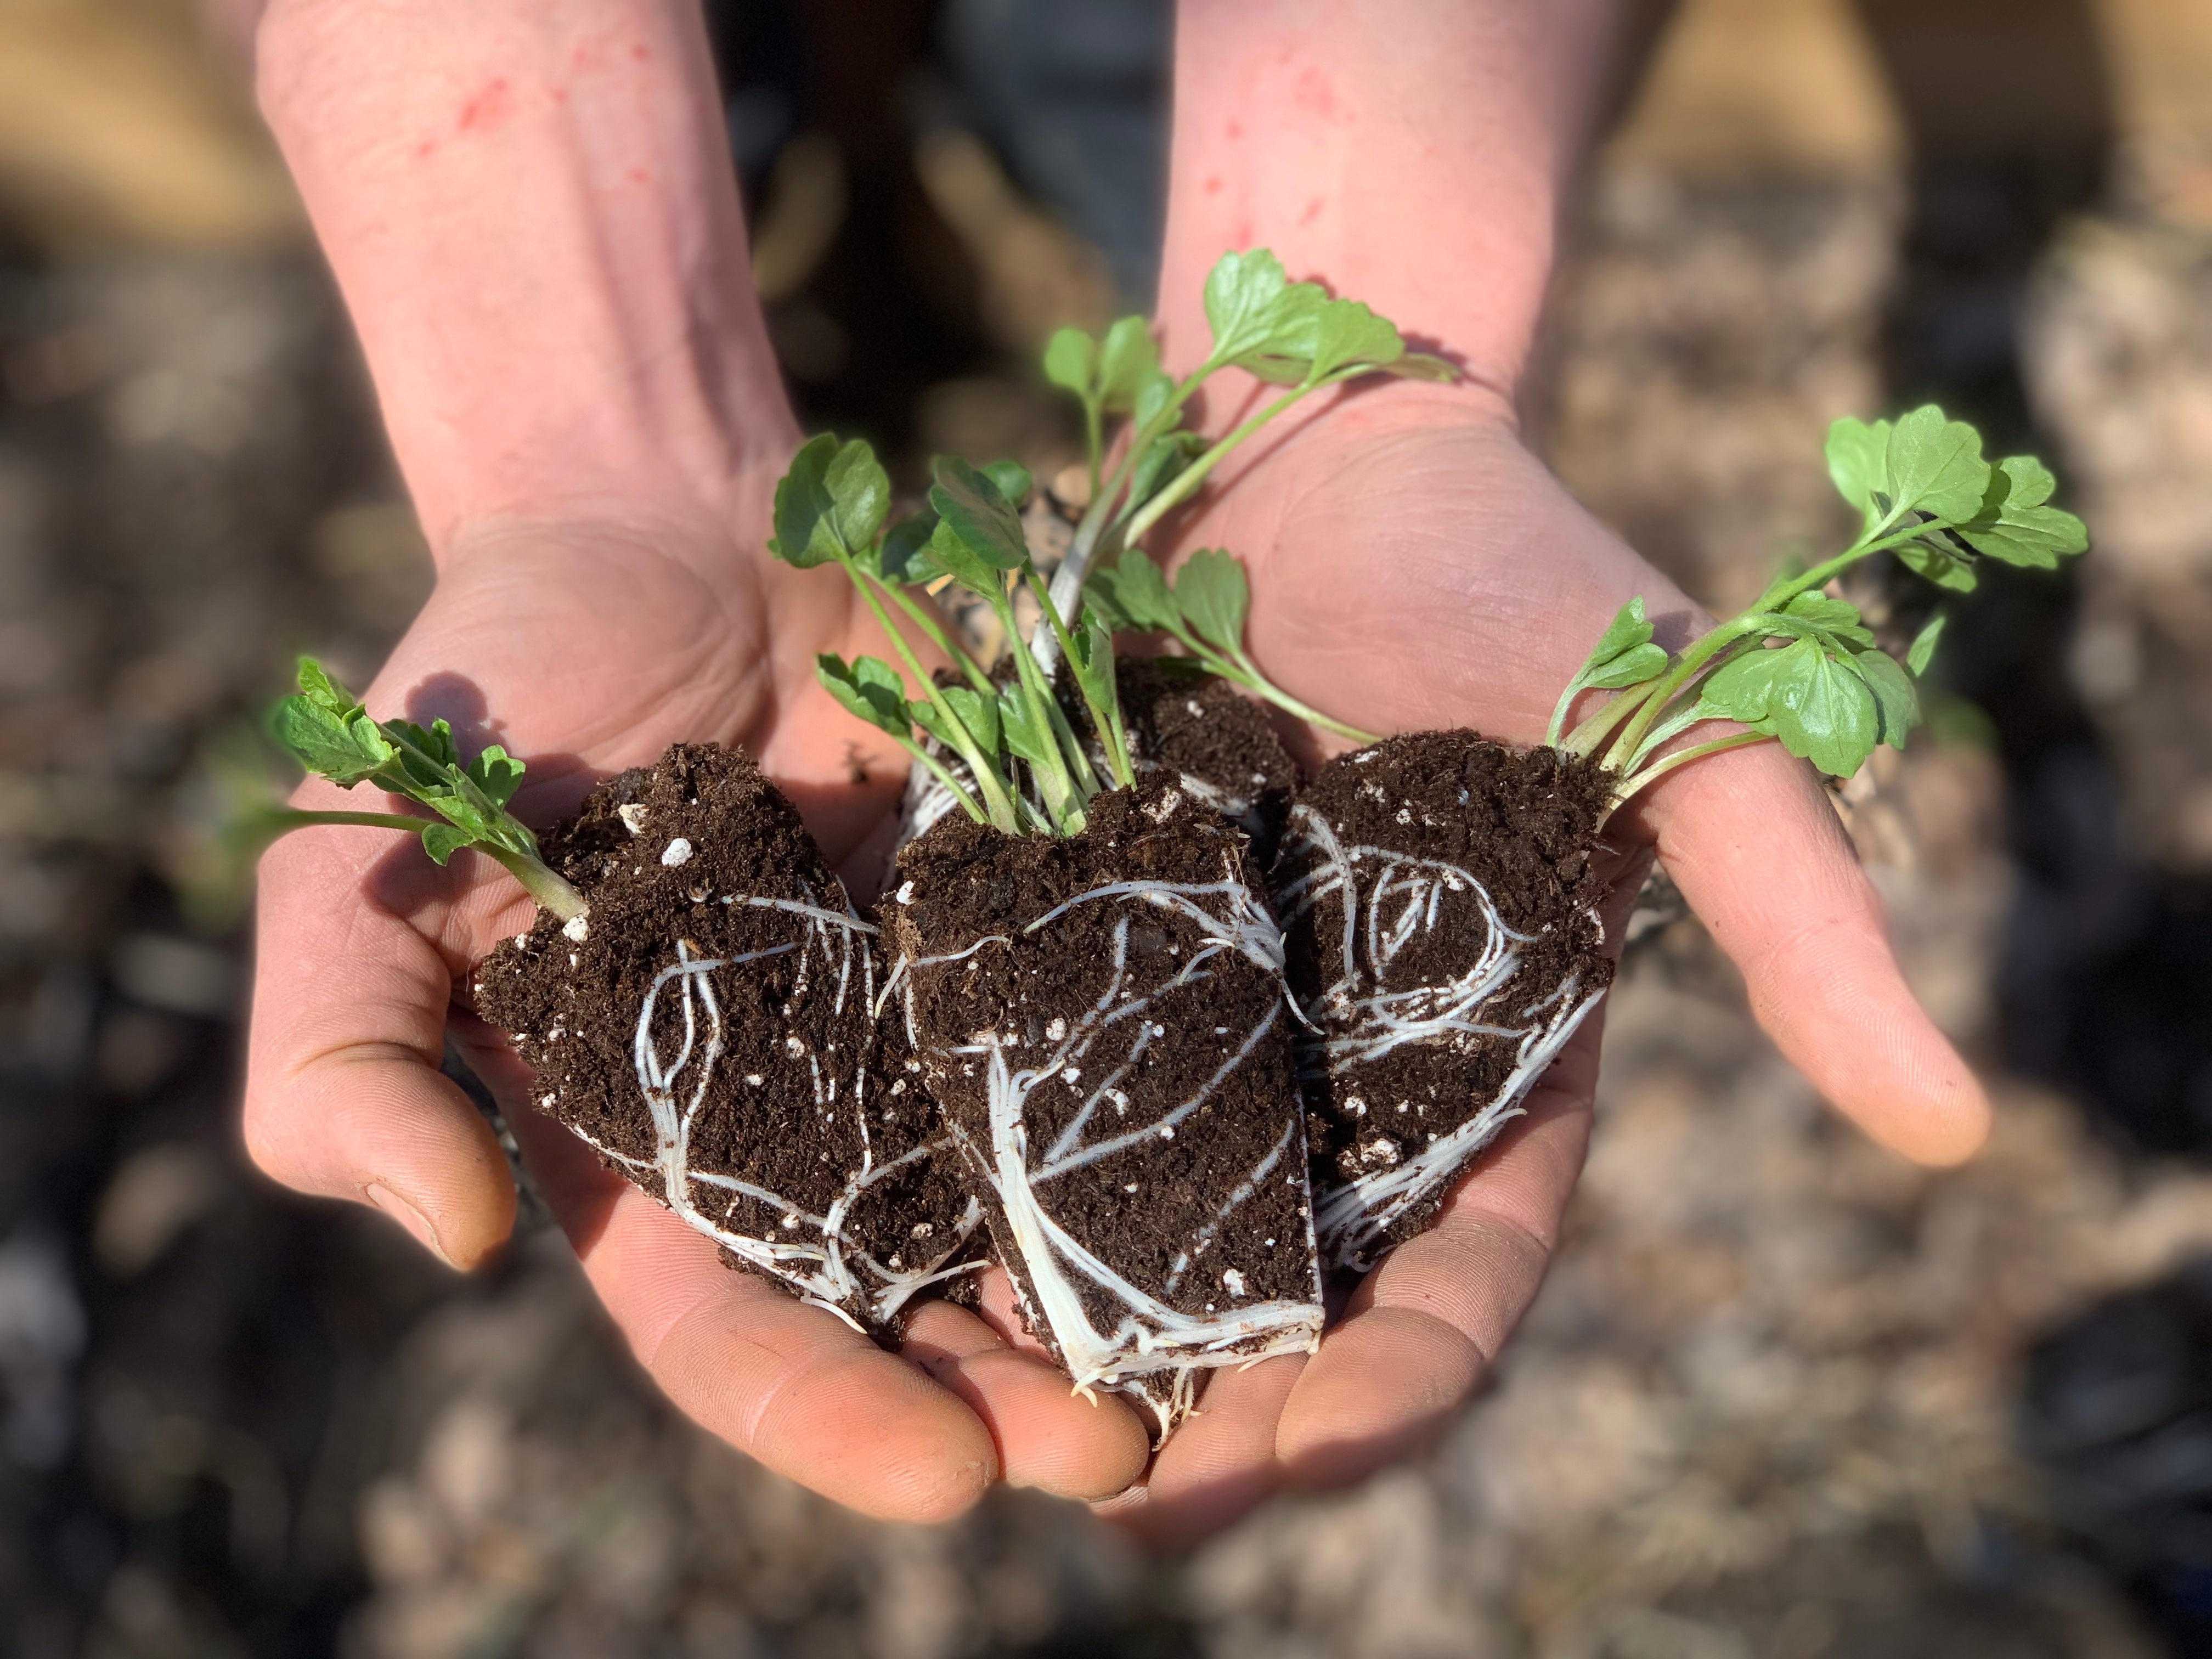
Once your small Ranunculus and Anemone plants are ready to plant outside, you’ll want to chose a location where your plants will receive 4-6 hours of sun each day. Your plants will love bright light in April and May, and may require a little more protection from the sun when the summer heat of mid-late June begins. You can provide a little extra shade in June to encourage continuous blooming, either with a piece of shade cloth (which you can purchase at a local hardware store, or online) or by planting your plants in large pots that can be moved out of direct sun when the June heat arrives.
WILL I NEED TO COVER MY PLANTS AT NIGHT AFTER I'VE PLANTED THEM?

Ranunculus and Anemones thrive plants are hardy to -5C (23F). These plants do thrive on cool spring conditions, and once their roots are established, a light frost will not harm the plant. With that said, if temperatures are expected to dip below zero, it will not hurt to provide a little extra protection for your plants, and you will want to provide extra protection if temperatures go below -5.
This can be done a few different ways: if you have a small number of plants, placing metal buckets, or plastic containers over top of the plants in the garden at night is an easy way to keep the frost off of your plants. We have also draped old quilts over top of our raised beds here at the farm For a little protection on a cold or frosty night. Frost cover (sometimes called Agribon) can be purchased and utilized to roll out over top of rows of plants if you have a larger number of plants. We have also used plastic vapour barrier (which can be purchased at any hardware store) to create little plastic tunnels over top of rows that are planted outside if extreme temperatures call for such measures. In our experience, in a home garden situation, simply draping an old quilt over the plants at night or popping plastic containers over top of them will be more than sufficient, if temperatures are dropping below -5.
Remember to take these coverings off again in the morning, as you won’t want your plants to build up excess heat under their coverings during the day.
CAN I LEAVE MY CORMS IN THE GROUND OVER THE WINTER? WILL THEY COME BACK NEXT YEAR?
Ranunculus are not perennials, meaning that they will not survive the winter if left in the ground.
 After your ranunculus have bloomed, proper care can help prepare them for the next growing season. In zones 7 and below, where ranunculus are not winter hardy, consider lifting the corms after the foliage has died back. Why wait for the foliage to die back naturally? The leaves of the plant will continue to photosynthesize, and this process stores energy in the corms for next year’s growth. Once the flowers have faded, allow the foliage to die back naturally, and then go ahead and lift the corms out of the garden.
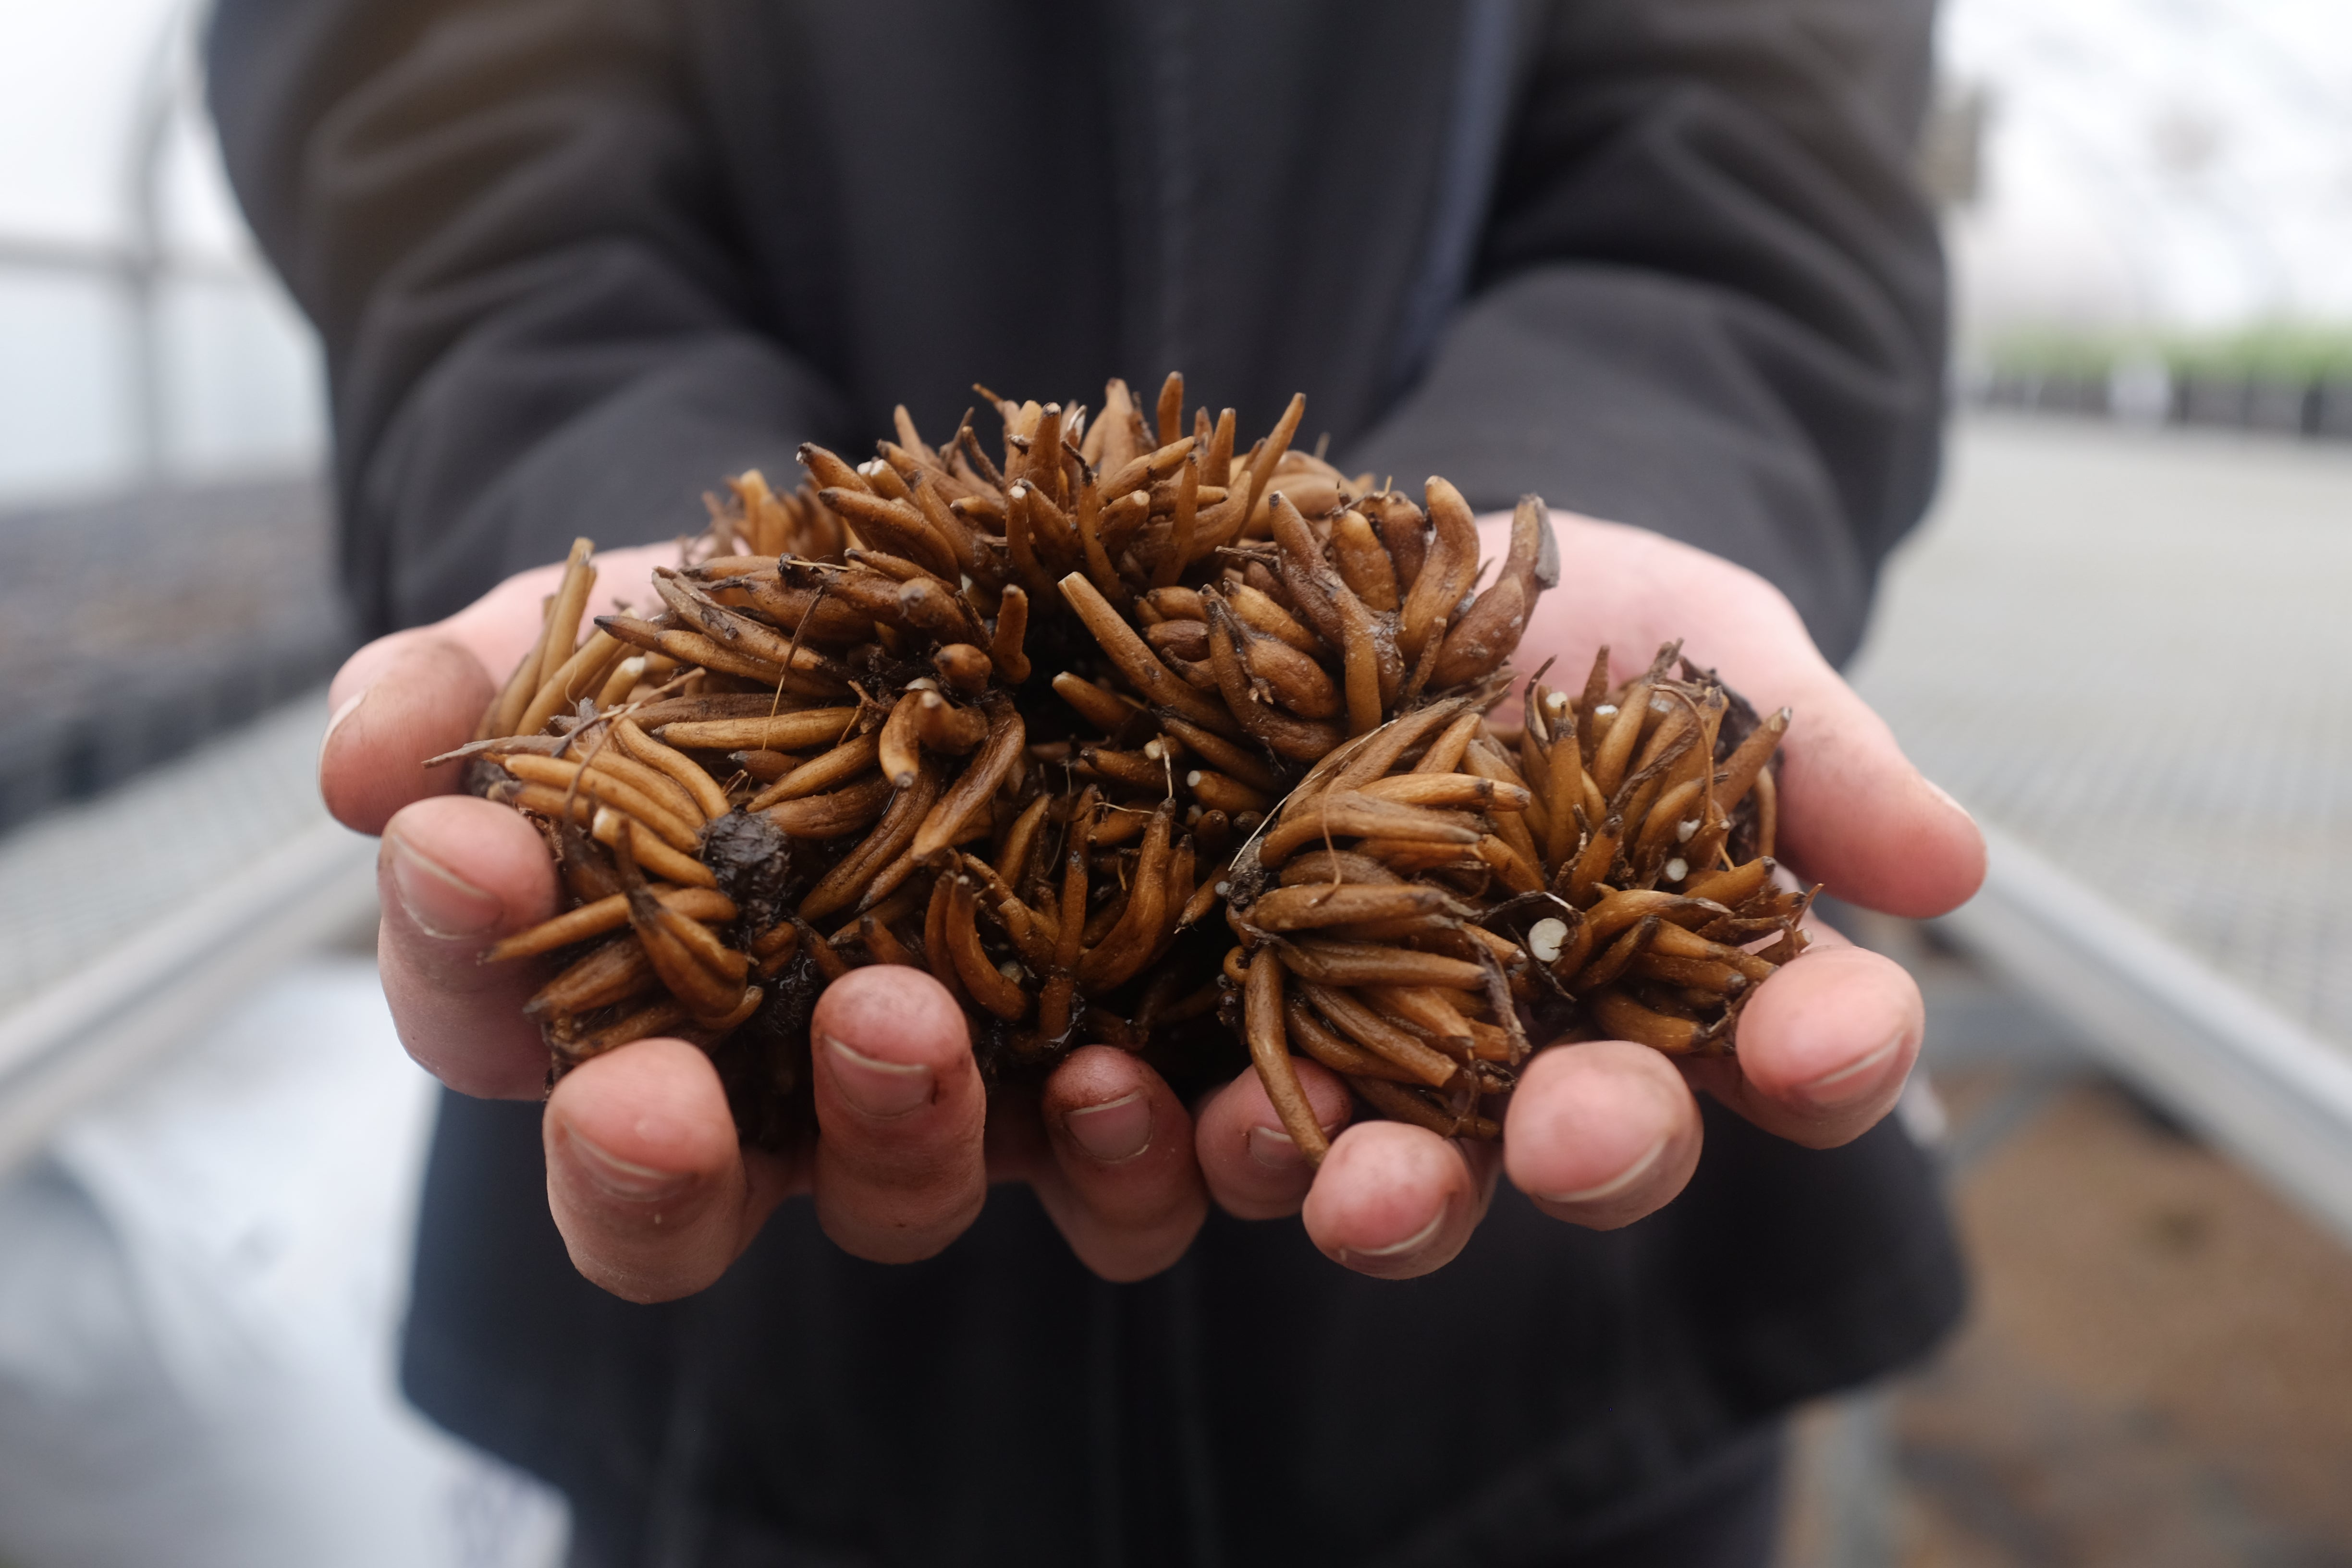
Shake the dirt off of your corns (no need to wash them) and allow them to dry for several days. You can then take your dried corns and put them in a paper bag and store them in a cool dry place (away from heat sources, and any moisture) until The following winter, when it is time to start them again!
